Table of Contents
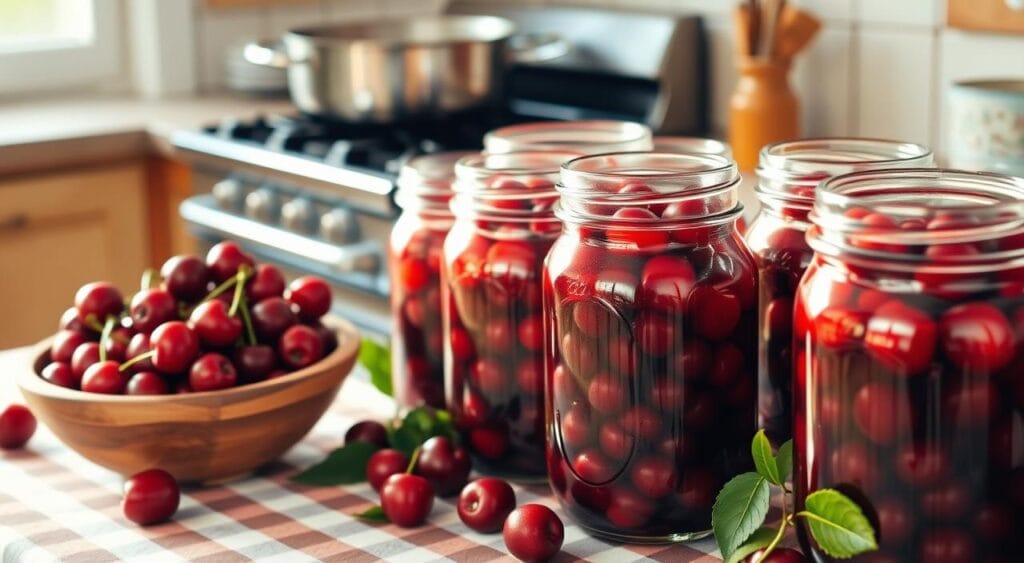
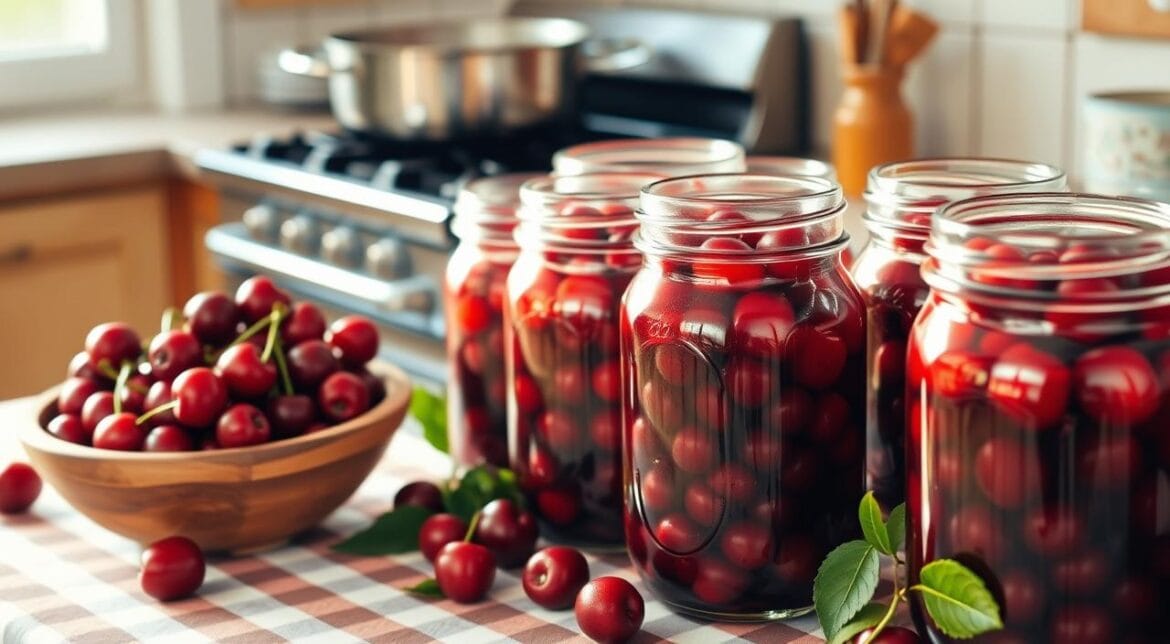
Canning cherries might seem hard and long. But, with the right steps, you can enjoy cherries all year. It’s a simple way to keep cherries fresh and full of nutrients. You can use them in many dishes, like baked goods and salads, or even as a topping.

By canning cherries, you can enjoy their taste even in winter. You’ll also feel proud of preserving them yourself. Canning cherries involves a few steps: preparing the cherries, making a syrup, and filling jars. This guide will show you how to do it all, with tips for the best results. It’s perfect for both new and experienced canners.
Key Takeaways
- You can can cherries at home to preserve their fresh flavor and nutrition.
- Canning cherries is a simple process that involves several steps.
- You can use your canned cherries in a variety of recipes, from baked goods to salads.
- Canning cherries is a great way to enjoy the taste of fresh cherries year-round.
- This guide will walk you through the process of canning cherries, from start to finish.
- You’ll learn about the different steps involved in canning cherries, including preparing the cherries and creating a syrup.
- By following this guide, you’ll be able to make delicious canned cherries and other fruits, like canned cranberries, at home.
Essential Equipment for Canning Cherries
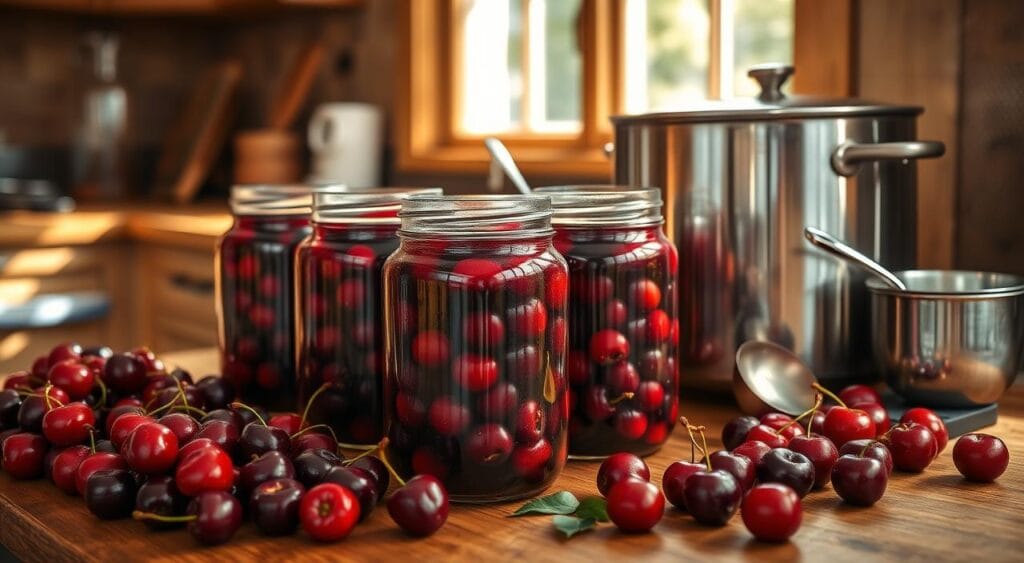
To start canning cherries, you need the right tools. This includes canning jars, lids, rings, a large pot, and a jar lifter. These items are key for safe and tasty canned cherries recipes all year.
Having the right equipment is crucial for canning cherries. Here are the main items you’ll need:
- Canning jars: Made for canning, they handle high temperatures well.
- Lids and rings: Seal the jars for airtight storage.
- Large pot: Sterilizes jars during processing.
- Jar lifter: Makes lifting hot jars easy.
Basic Canning Tools and Supplies
Other useful tools for canning cherries include a cherry pitter, a wide-mouth funnel, and a clean cloth. These help with the process.

Optional Equipment for Efficiency
While not necessary, some optional tools can make canning easier. A pressure canner is great for low-acid foods. A canning funnel helps fill jars without spills.
Selecting the Best Cherries for Canning
Choosing the right cherries is key for great canned cherries. Look for cherries that are fresh, firm, and ripe. Bing cherries are a top pick because they’re sweet, juicy, and keep their taste and texture well.
For the best cherries, pick those that are plump and firm. Avoid cherries with soft spots or bruises. Check the stem end; if it comes off easily, the cherry is ripe. When using canned bing cherry recipes, make sure to prepare and sterilize your cherries as the recipe instructs.
- Choose cherries that are in season and at their peak freshness
- Store cherries in a cool, dry place to keep them fresh
- Wash and dry cherries thoroughly before canning to remove any dirt or bacteria
By picking the right cherries and following these tips, you can make tasty and long-lasting canned bing cherry recipes.
| Cherry Variety | Characteristics | Suitability for Canning |
|---|---|---|
| Bing | Sweet, juicy, firm | Excellent |
| Rainier | Sweet, tender, pale yellow | Good |
| Montmorency | Tart, firm, red | Fair |
Preparing Your Kitchen for Canning Cherries
To have a great canning experience, get your kitchen ready first. Clean your workspace and set up your canning station. This way, you can make tasty dishes like cherry pies and salads.
It’s key to clean your area well to avoid contamination. Start by washing everything with soap and warm water. Then, rinse and dry with a clean towel. This keeps your space clean and safe from bacteria.
Sanitizing Your Workspace
- Wash all surfaces and equipment with soap and warm water
- Rinse them thoroughly and dry with a clean towel
- Use a sanitizer or bleach solution to disinfect all areas
After cleaning, organize your canning station. Put your tools and ingredients where you can easily reach them. This makes your work faster and keeps things tidy. You might also want a canning kit for all the tools you need.
Organizing Your Canning Station
With a clean and organized kitchen, you’re ready to make delicious cherry dishes. Always follow safe canning practices to keep your cherries safe and tasty.
The Complete Process of Canning Cherries
To can cherries, start by washing and pitting them. This step removes dirt, stems, and leaves. Use a cherry pitter to make this easier. After pitting, prepare the syrup.
For the syrup, mix water and sugar in a saucepan. Adjust the sugar to your liking, but keep it thin. A simple ratio is 1 cup sugar to 1 cup water. This syrup works well for cherries and cranberries too.
Washing and Pitting Cherries
- Wash the cherries under cold water to remove any dirt or debris.
- Remove the stems and leaves from the cherries
- Remove the pits from the cherries using a cherry pitter.
Preparing the Syrup
To make the syrup, mix sugar and water in a saucepan. Heat over medium heat, stirring continuously until the sugar dissolves. Adding a bit of lemon juice helps keep the cherries’ color and flavor.
Filling and Processing Jars
With syrup and cherries ready, fill the jars. Pack the cherries, leaving 1/2 inch of space. Pour the syrup over them, ensuring the right space. Remove air bubbles and process the jars in boiling water for 10-15 minutes.
| Jar Size | Processing Time |
|---|---|
| 8 oz | 10 minutes |
| 16 oz | 15 minutes |
Safety Measures and Best Practices
When canning healthy recipe canned cherries and cranberries, safety is key. To keep your canned goods safe, follow proper sterilization and handling steps. Start by washing your hands well and sanitizing all tools before you begin.
It’s important to stick to tested recipes found in trusted canning books or online. This helps avoid foodborne illnesses. Also, make sure your jars seal properly to prevent spoilage and contamination.
- Always use fresh and clean ingredients
- Follow a tested recipe and instructions
- Use the right equipment and utensils for the job
- Store canned goods in a cool, dry place
By following these steps and precautions, you can safely enjoy your healthy recipe canned cherries and cranberries. This way, you’ll reduce the risk of getting sick from food.
Remember, safety is always first when canning and preserving food. By using the right techniques and guidelines, your canned goods will be safe and delicious for years.
Different Syrup Options for Canned Cherries
Choosing the right syrup for canned cherries can change the taste and calories. You can pick from light, medium, or heavy syrup recipes. For example, a light syrup is great with canned cranberries.
The syrup choice also depends on the cherry type. Sweet cherries go well with heavy syrup, while sour cherries are better with light syrup. Here are some syrup options:
Light Syrup Recipe
- 1 cup granulated sugar
- 1 cup water
- 1 tablespoon lemon juice
This light syrup recipe is perfect for a low-calorie choice. It’s great with canned cranberries or other fruits.
Medium Syrup Recipe
- 2 cups granulated sugar
- 1 cup water
- 1 tablespoon lemon juice
The medium syrup recipe is versatile. It offers a good balance of sweetness and flavor, making it ideal for canned cherries.
Heavy Syrup Recipe
- 3 cups granulated sugar
- 1 cup water
- 1 tablespoon lemon juice
The heavy syrup recipe is perfect for those who like sweeter cherries. It’s great for sweet cherries or as a dessert topping.
| Syrup Type | Sugar Content | Calorie Count |
|---|---|---|
| Light Syrup | 1 cup | 100 calories |
| Medium Syrup | 2 cups | 200 calories |
| Heavy Syrup | 3 cups | 300 calories |
Storage Requirements and Shelf Life
After canning cherries, it’s key to store them right to keep them fresh and safe. Proper storage is vital to avoid spoilage and keep the cherries good for longer.
Store your canned cherries in a cool, dark spot. The temperature should be between 50-70°F (10-21°C). Also, keep the humidity low. This stops bacteria and other bad stuff from growing.
Proper Storage Conditions
Some important things to think about when storing canned cherries include:
- Avoid direct sunlight, as it can cause the cherries to become discolored or develop off-flavors
- Keep the canned cherries away from heat sources, such as ovens or radiators
- Store the canned cherries in a dry place, away from moisture or humidity
Signs of Spoilage
Knowing the signs of spoilage is also crucial. These can include:
- Swollen or leaking cans
- Off-flavors or odors
- Mold or yeast growth on the surface of the cherries
By following these storage tips and watching for spoilage signs, you can enjoy your canned cherries for a longer time. And they’ll stay safe to eat.
Creative Ways to Use Your Canned Cherries
Now that you’ve canned your cherries, it’s time to get creative. You can make a variety of dishes, from classic desserts to unexpected sauces. Try using them in cherry pie, cobbler, or even as a topping for meats or salads.
Here are some ideas to get you started:
- Make a cherry syrup by mixing canned cherries with sugar and water. Use it on pancakes or waffles.
- Add canned cherries to your favorite salad for flavor and color.
- Use canned cherries to make a cherry compote. It’s great as a side dish or topping for yogurt or ice cream.
You can also add canned cherries to your breakfast. Try them in oatmeal or yogurt parfaits. For a refreshing drink, make a cherry smoothie with canned cherries, yogurt, and milk.
With a little creativity, you can do a lot with canned cherries. Don’t be afraid to try new things. Your taste buds will love it!
| Dish | Ingredients | Instructions |
|---|---|---|
| Cherry Syrup | Canned cherries, sugar, water | Mix all ingredients together and bring to a boil, then reduce heat and simmer for 10 minutes |
| Cherry Salad | Canned cherries, mixed greens, feta cheese, balsamic vinaigrette | Combine all ingredients in a bowl and toss to combine |
Troubleshooting Common Canning Problems
When canning cherries, you might run into some common issues. These can affect how good your canned cherries taste and if they’re safe to eat. It’s key to fix these problems to get the best results.
Some common problems include floating fruit, seal failures, and discoloration. These can happen for many reasons. It might be because of bad canning techniques, not sterilizing enough, or using low-quality ingredients.
Floating Fruit Issues
Floating fruit is a common problem when canning cherries, especially in water bath canners. It can be due to air pockets or not packing the cherries tightly enough. To avoid this, pack the cherries well and remove any air before sealing the jar.
Seal Failures
Seal failures are a big issue when canning cherries. They can cause spoilage and contamination. To avoid this, make sure to follow all canning steps. Sterilize the jars and lids well, and seal them tightly.
Discoloration Solutions
Discoloration can happen when canning cherries, especially with high-temperature canners. To prevent it, use a low-temperature canner. Also, pack the cherries tightly to keep air out.
By following these tips and solving common canning problems, you can make sure your canned cherries are delicious and safe. Always follow the right canning steps and use top-quality ingredients for the best results.
| Common Canning Problems | Causes | Solutions |
|---|---|---|
| Floating Fruit | Air pockets in the jar, inadequate packing | Pack cherries tightly, remove air pockets |
| Seal Failures | Improper canning procedures, inadequate sterilization | Follow proper canning procedures, sterilize jars and lids |
| Discoloration | High-temperature canner, air reaching the cherries | Use low-temperature canner, pack cherries tightly |
Conclusion: Enjoying Your Home-Canned Cherries
Congratulations on mastering the art of canning cherries at home! You’ve got a delicious, preserved fruit supply for the whole year. Choose from light, medium, or heavy syrup to use in many recipes using canned cherries in water.
When you open a jar, enjoy the fresh taste and bright color. It’s like summer in every bite. Use them to sweeten winter desserts, spice up savory dishes, or just enjoy the taste of summer. Making these preserves yourself is incredibly rewarding, and sharing them will make everyone happy.
Always keep food safety in mind when storing and using your canned cherries. With the right care, they can last up to a year. Try different cherry types and syrup levels to find your favorite flavors.
Home food preservation is a joy. Keep exploring and enjoy the fruits of your labor all year. Share your canned cherries and canning stories with those who love preserving the harvest.
FAQ
What equipment do I need for canning cherries at home?
You’ll need canning jars, lids, and rings for canning cherries. A large pot for processing and a jar lifter are also essential. Optional tools like a cherry pitter and wide-mouth funnel can make the process easier. Don’t forget proper sterilization equipment, like a dishwasher or a pot for boiling jars, for safe canning.
How do I choose the best cherries for canning?
Choose fresh, firm, and ripe bing cherries for canning. Bing cherries are a great choice. Make sure they’re free of blemishes and bruises. Using locally sourced or homegrown cherries is best. Proper storage before canning also helps keep them fresh.
What steps are involved in the canning process for cherries?
The canning process starts with washing and pitting the cherries. Then, prepare the syrup and fill the jars. Remove air bubbles and process the jars in a water bath. Always follow tested recipes and food safety practices to ensure the cherries are safe to eat.
What safety measures should I take when canning cherries?
Sterilize all equipment and surfaces properly for safe canning. Follow tested recipes and ensure jars are sealed well. This helps avoid risks like botulism. Proper handling and storage of canned cherries are also key to preventing foodborne illnesses.
How can I use my home-canned cherries?
Home-canned cherries are versatile. Use them in cherry pie, cobbler, or as sauces for meats. They’re great as salad toppings or in breakfast dishes and drinks. Enjoy the taste of summer all year with canned cherries.
What are some common canning problems I might encounter with cherries?
Issues like floating fruit, seal failures, and discoloration can happen. Floating fruit is often due to air pockets or too little syrup. Seal failures might be from bad processing or damaged lids. Discoloration can be from not acidifying the cherries enough. The troubleshooting section offers solutions for these problems.


2 comments
[…] Posts Delicious Recipes Using Canned Cherries in Water Step-by-Step Guide to Canning Cherries at Home Top 5 Canned Cherries Recipes for Easy and… How to Make a Perfect Recipe with Canned… Apple […]
[…] Tasty Canned Bing Cherry Recipes to Try at… Delicious Recipes Using Canned Cherries in Water Step-by-Step Guide to Canning Cherries at Home Top 5 Canned Cherries Recipes for Easy and… How to Make a Perfect Recipe with Canned… Apple […]
Comments are closed.